Saturday, December 6, 2014

Week 14 Post

Saturday (2 Hours of work):
Today I worked on painting a texture onto the turning knobs for the volume controls on the amp. I had to figure out how to get he numbers onto the knob in a circular motion. It was a lot of work actually but I figured it out. I then tested it on the model and I think it came out pretty good.


Sunday (2 Hours of work):
Today I finished texturing all of the knobs and plugs on the front of the amp. It was a lot of work and took so much time but it turned out the way I wanted it to. Now I just have to finish the handle and bumpers than import the whole scene together. Then render a few renders of it.


Monday (7 Hours of work):
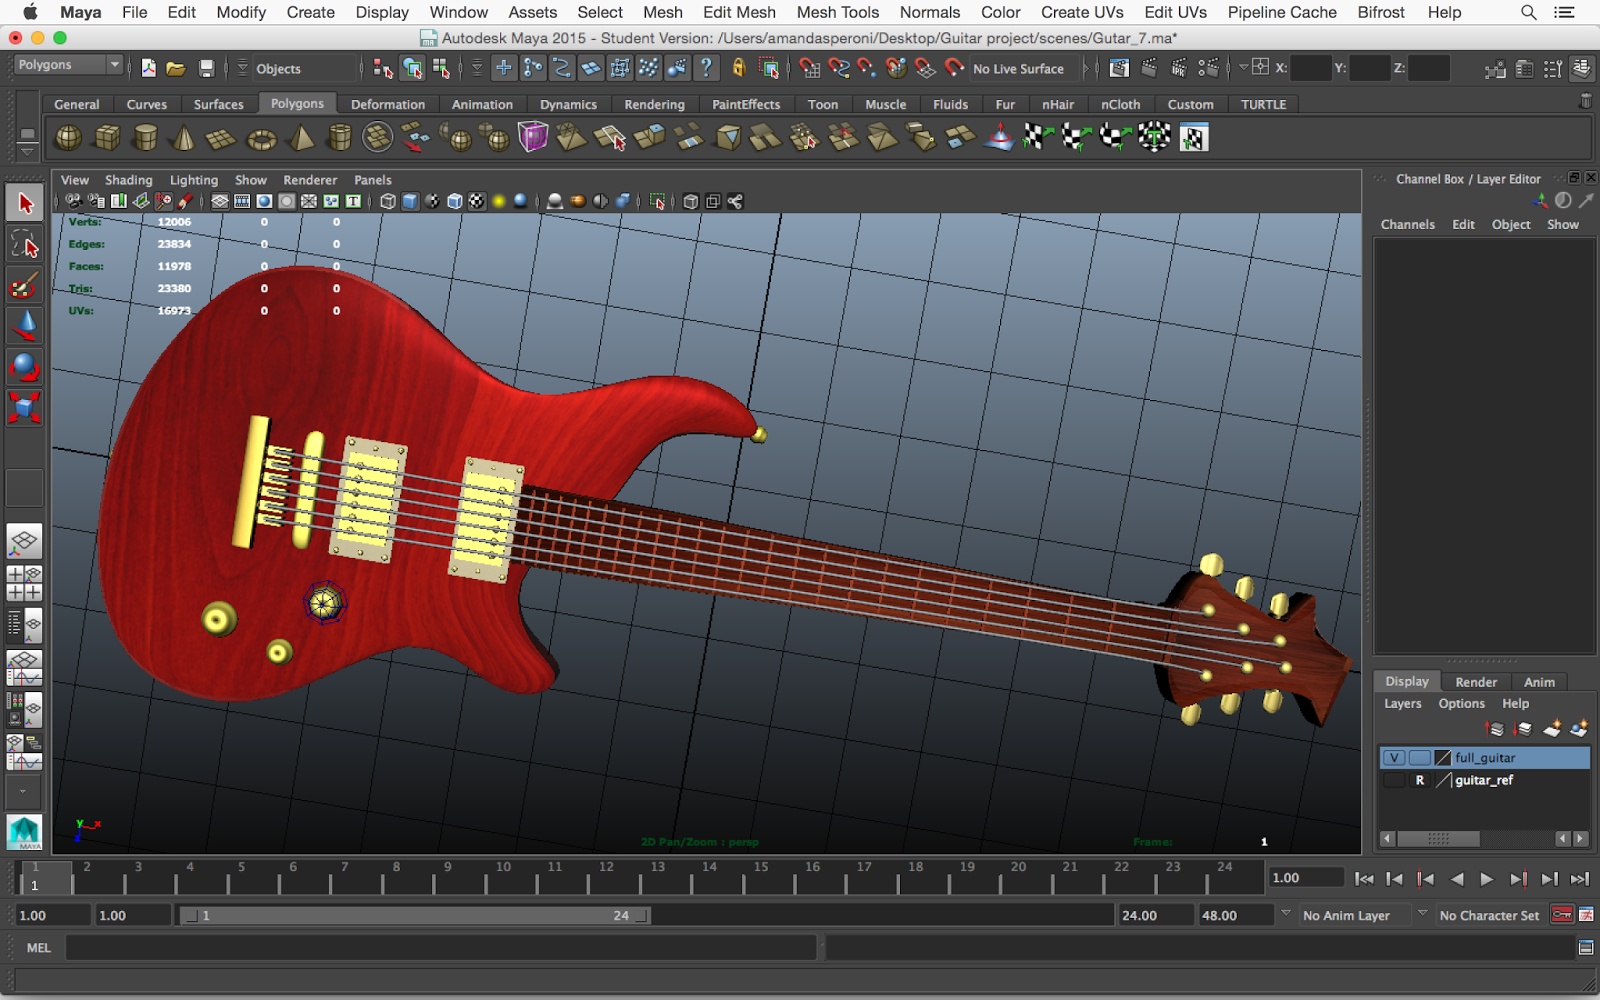
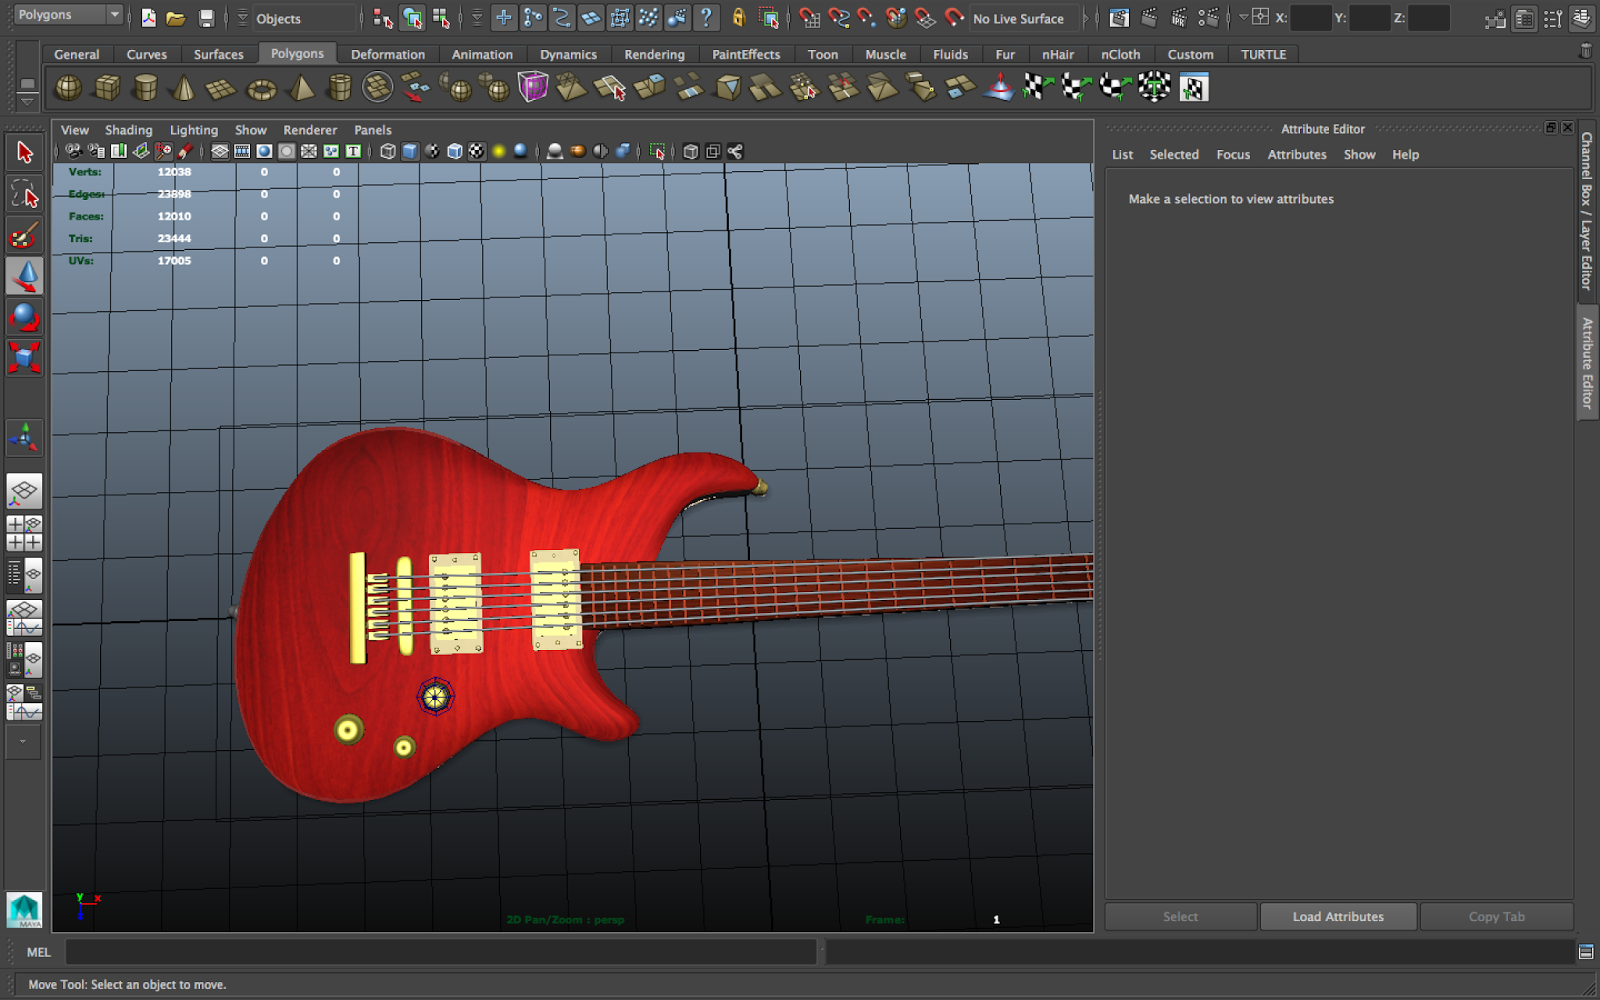
Today I worked on completely finishing the amp. I have now textured it all and its all done I just have to figure out how to put my whole scene together than do some renders. I also imported all of the objects together and made a turntable. I lit the scene and attempted to do a beauty pass  batch render. Well it was set to the wrong perspective camera and all the renders turned out sideways so I ended up just doing a few still renders to put on here. The next problem I had was getting the wireframe to actually work. I tried absolutely everything I could think of and tried to go off both the turntable tutorial and Justin's post on Facebook. It usually works but today Maya was just not letting it work. So for that I ended up taking a few screenshots to show off the wireframe. 


Monday, December 1, 2014

Week 14 Post

Monday (1 Hour of work):
Today I worked on finishing some of the knobs on the guitar and the guitar is now done. Then i started to work on building the guitar stand for the guitar to sit on in the final scene. I'm getting very close to being done with this project.


Tuesday (1 Hour of work):
Today I worked on finishing up the guitar stand. I had some issues with the curve tool to make the handles for the guitar to sit on but I finally figured it out. Since the guitar sits on it its not really visible to the person looking at the scene. Tomorrow I am planning on working on textures and hopefully soon finishing up my scene. 


Thursday (2 Hours of work):
I worked on getting the stand fully uved and I did just that. I got all of it UVed which took a while but its all ready for texturing now. I was thinking of making it a darker plastic color because it is not really going to be seen. The guitar is going to be resting on it.


Friday (5 Hours of work):
Today I worked on finishing all the texturing on the guitar stand. I found this great tutorial on http://www.photoshoptutorials.ws/photoshop-tutorials/drawing/metal-texture/ about making my own metal texture in Photoshop. It really helped me get this great dark metal texture to the stand. After I was finished up with that I started working on the auxiliary ports to the amp. I am hand painting everything for this since that is going to be the easiest way. Its time consuming but I know it will be worth it in the end.


Tuesday, November 18, 2014

Week 13 Post

Tuesday (1 Hour of work):

Today I worked on finding some good textures for the body and the speaker of the amp. I found a really good speaker texture and the plastic texture I found is ok but a little stretched out so I will have to tweak with it a little bit in Photoshop. The speaker came out great and really does resemble a speaker. I also might need to lighten the plastic slightly because it blends in a little bit.


Friday (3 Hours of work):

Today I had to completely retexture the UV's for the neck of the guitar. I got them fixed relatively alright. They look pretty good from a distance. That took me a while to do. Then I reapplied the texture to the guitar to make sure it all worked. 


Wednesday, November 12, 2014

Week 12 Post

Wednesday (1 hour and 1/2 of work):

I worked on UVing the knobs on the amp. It's actually a little bit more complicated than I thought it was going to be but I have to get through UVing them all and adding some detail to each of them in photoshop. They need some lines and numbers on them so they look like real knobs on amps.


Thursday (2 hours of work):

Today I got all of the knobs UVed and one of the buttons. It took a while to UV these but I finally got them done. I just have another aux port to UV, 2 bigger UV's, and a switch. After that I can finally add some textures onto this.


Monday, November 3, 2014

Week 11 Post

Monday (1 Hour of work):

Today I worked on fixing the rest of the screws. I had to reuv all of them and that took a while but I finally got it done and it turned out great. The gold texture that I have gotten looks just like gold to me and I gave it a nice shine as well.


Tuesday:

Worked on texturing some more of the guitar knobs but nothing was going right tonight. I'm going to see what I am able to do tomorrow instead.

Thursday (1 hour of work):

Today I worked on finding a good silver texture for the silver pick guards and the strings. The texture I found works really well for silver and has a great texture to it. It took a little bit for me to get the UVs just right for the strings. At first they were starting out the right color then getting dark on the seam of the UV. I figured out that since the strings are two separate pieces I have to fix both sides to get the texture to flow correctly. So far I am loving how this guitar is turning out.


Friday (2 Hours of work):

Today I started on with adding the mahogany texture to the head of the guitar. I then tried to search for an abalone texture for around the mahogany texture on the head but I could not find a good one. So then I moved on to UVing the frets and getting a nice fine wood texture on each of them. Then came the trickier part which was uving the part of the neck that I wanted that same texture on as the frets. I didn't get it quite right because it accidentally applied the texture to the entire neck. This over road my mahogany texture on the head of guitar but I figured out how to put that back. It needs some fixing still but its turning out to look really good.


Monday, October 27, 2014

Week 9 Post

Monday (2 Hours of work):

Today I worked on finding the right gold texture for all of the gold hardware on the guitar. I first started with a gold texture that had a slight gradient to it. This didn't work so well because there were dark parts and light part coming through on the object. So then I had to retexture the objects with a part of the gold texture that I cropped to make it all the same color. I pretty much just cropped the shadows out of the gold. I then have to do some re-uving to make things fit correctly and it came out like I wanted it. There are still a couple seems that I can't figure out how to get rid of.


Tuesday (1 Hour of work):

Today I worked on perfecting the gold texture and I think its coming out really well so far. It has that nice chromatic shine to it. I worked on applying texturing to the string turners. Then I played with the eccentricity, reflectivity, and the specular color. Then I moved down the guitar and applied the texture to the springs. I had to lighten it up a little bit because the springs weren't standing out enough. Then I started working on the screws and so far they are coming out ok but I have to adjust the UV's a lot. Its starting to finally come together. 


Friday (1 Hour of work):

Today I worked on reUVing every single screw and adding the texture to it. It was very time consuming but I got it halfway done. I still have another pick guard of bolts to work on though. So almost there.


Monday, October 20, 2014

Week 8 Post

Monday (1 Hour of work):

Today I worked on looking around the internet for some nice mahogany textures. I need to find a good deep mahogany texture for the body of the guitar and the tuning head of the guitar. I found some great textures which I will get later today. I finally got the textures I was looking for and they turned out to be the wrong wood for me. So tomorrow I will be looking for more fine wood textures.

Tuesday (1 Hour of work):

I finally figured out how to use the text tool and found out that the brush script came closest to the Fender logo. So I first typed that into the text tool option window and it came out flat. Then I checked the box for bevel and it came out to thick. I had to mess around with the tool for a bit until I finally got what I was looking for.


Thursday (2 Hours of work):

Today I took some time and watched some of the Lynda.com series called Maya Essentials 4: Creating Textures and Materials with George Maestri. Its really helping me wrap my head a little bit more around texturing. I'm trying to figure out how to add some more realistic textures to this amp and guitar. I know that the body of the guitar is going to be a nice shiny mahogany but there is a outline of a lighter shinier material that I will somehow have to paint into the UV snapshot in Photoshop. These videos also showed me how to use specular roll off and eccentricity to a shiny material to make it look like a metal texture.

Friday (3 Hours of work):

Today I continued to look at some more videos about texturing and finally began texturing. I found a really good fine wood texture and then played with the levels and curves inside of Photoshop. I turned it into more of a red mahogany color and it matches pretty close with the reference photo now. I'm trying to make a little but more shiny but so far I am liking how it is turning out. I also started to texture the pickups and I found a really great color for the first pickup. Its a nice deep gold color and it has the perfect amount of reflectivity.